Pages

Showing posts with label tutorial. Show all posts

Saturday, 18 August 2012

How to use Tappits

Suddenly realised that I hadn't updated the blog for ages so here's a mini tutorial on how to use Tappit letter cutters! I know a lot of people have trouble with these and it took me a while to find the best way for me. In the past, I have tried various methods using plain sugarpaste, CMC treated sugarpaste  and greasing the cutters with Trex with no success but this way really works without any faffing around!

You will need:
Tappit cutters - here I'm using the "funky" type
Icing sugar for dusting
Rolling pin and sharp knife
Flower paste


It's the flower paste that really makes the difference and is easily available to buy, or you can make your own as I do which is an awful lot cheaper! This is the recipe I follow:

Sugarpaste Flowerpaste Recipe

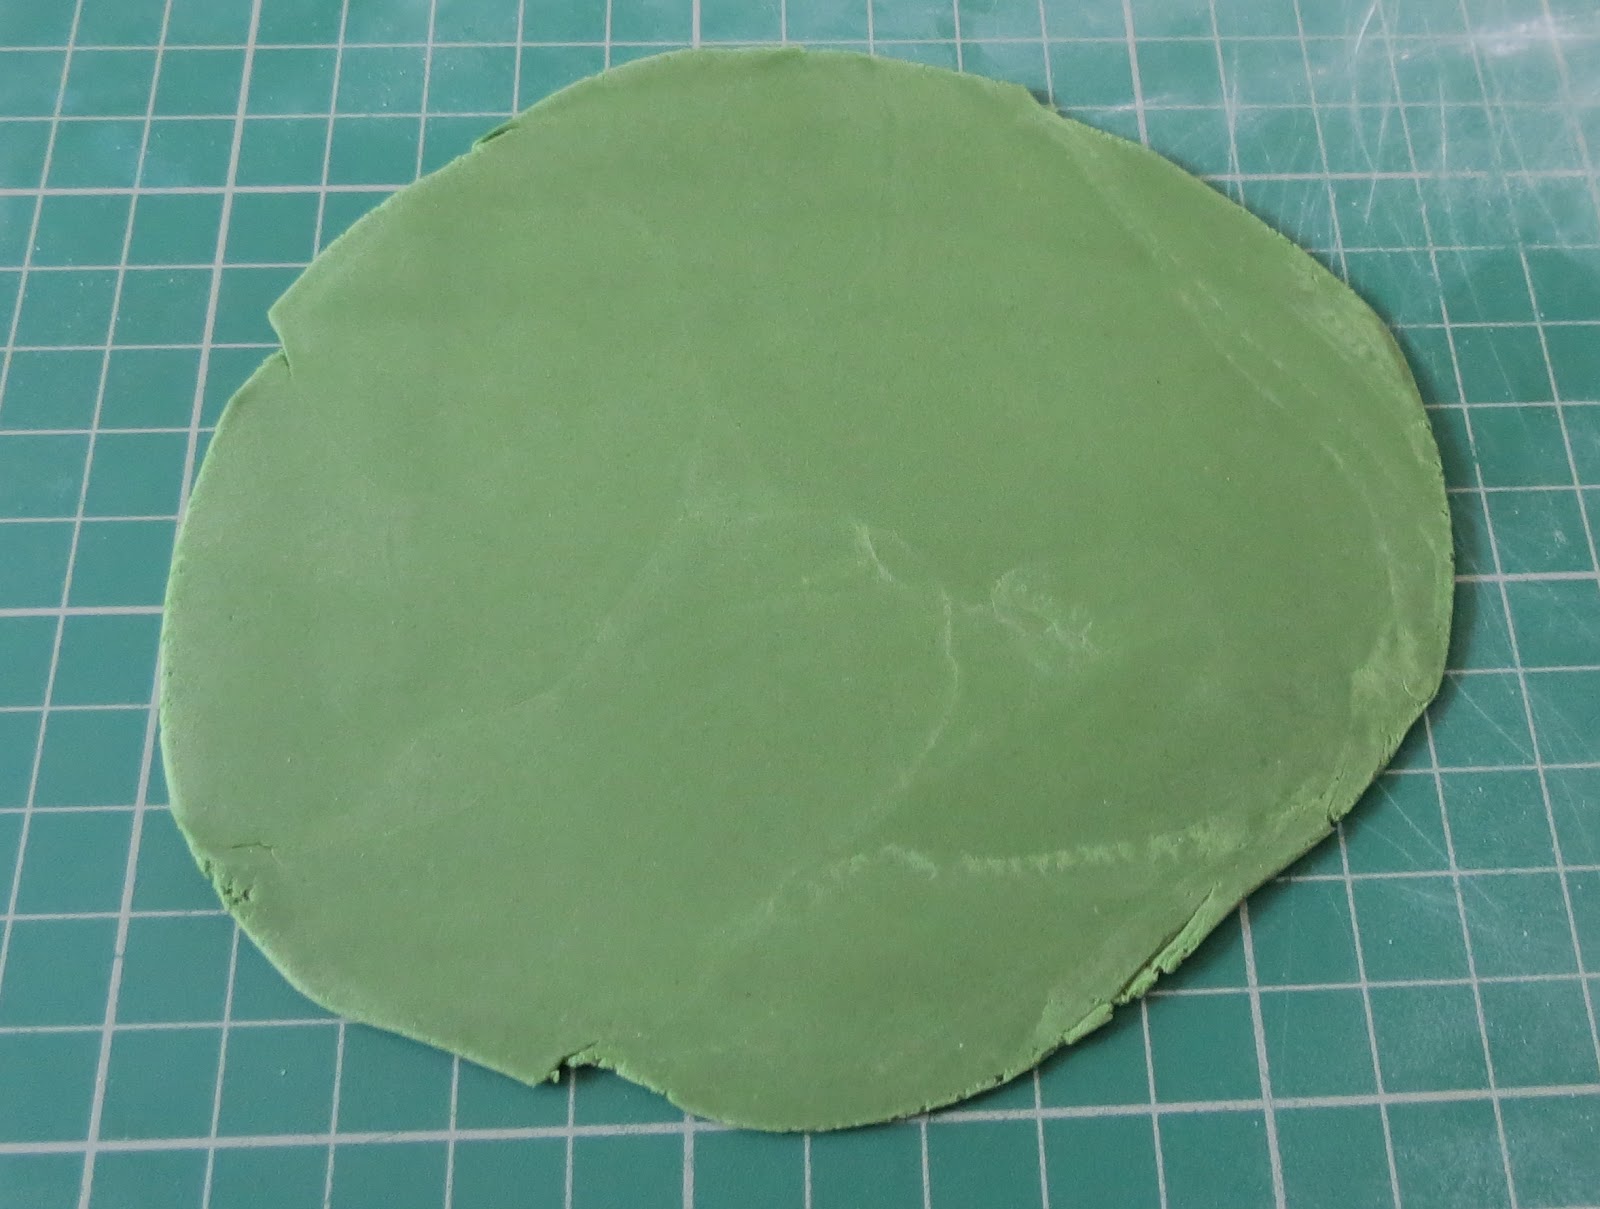
Now you have your paste, colour as you wish and knead until pliable. Roll out on a surface lightly dusted with icing sugar as thin as you can - approx 1-2mm.


Leave for about 5 minutes to let the surface of the paste dry a little. Using your knife, cut into sections big enough for your letters. Place your cutter over the paste and press down firmly. Then, still applying pressure, move the cutter in a backwards and forwards motion on your surface to ensure the paste is cut properly.
Now you will see why some people call them Whack-its!
Holding the cutter at a 45 degree angle towards your surface, give it a good whack on the edge of your surface and hey presto! Your letter will drop out of the cutter easily - sometimes you may need to whack it more than once but usually once does the trick.


To attach to your cake, use a bit of edible glue and move into place using a dry paintbrush.


Easy Peasy! Happy Baking :)


Monday, 14 May 2012

Rose Leaves Tutorial

Rose Leaves Tutorial


To make these realistic rose leaves, you will need the following items:
Flower/gum paste, rose leaf cutters, rose leaf veiners (I use Aldaval Veiners), rolling pin, florist wire and tape (I used a very fine gauge wire), cornflour, edible glue, petal dust - burgundy, confectioner's glaze, paintbrush.


Roll out your paste thinly but thick enough to insert a wire and cut out your leaf shape (my cutters leave an indent in the middle but this doesn't matter as it will disappear later!)

Cut your wire into pieces around 10cm long. Dip a wire in edible glue and insert carefully into the leaf about 3/4's of the way along the leaf.

Dust the veiners with cornflour to stop the paste sticking and lay your leaf on the veiner that looks like the back of the leaf, making sure the wire is in line with the leaf spine.

Place the other veiner on top and apply pressure, kind of squash it gently between your fingers! Carefully open the veiners and pop out the leaf - if you find it sticks, tease it out slowly with a dry paintbrush. Keep going until you have as many leaves of different sizes as you need.


Now use a paintbrush to dust the edges of your leaves with a hint of burgundy petal dust. (I used the colour in the bottom left of the picture)

Using a paintbrush, give each leaf a sheen using confectioner's glaze - I use a liquid but sprays are also available.

Now all you have to do is use florist tape to bind together your leaves in the arrangement you choose :)


Happy Making

BakerLou -x-

For other tutorials, please take a look through this blog or see our website


Sunday, 15 April 2012

Tutorial - Simple Sugarpaste Roses


BakerLou Tutorial - Simple Sugarpaste Roses
These easy roses are perfect for putting onto cupcakes or celebration cakes and need no specialist equipment!
This tutorial will take you through the process of making these pretty flowers with photos every step of the way. I’ve found this to be the easiest way to learn a new technique so I hope you find it easy to follow. If you need any further assistance, please feel free to message me through my Facebook page or website.


EQUIPMENT

All you need for this simple method of rose making is as follows:

* Sugarpaste in the colour of your choice – approx 100g
 * A sharp knife
 * A sheet of plastic such as cellophane, a plastic file pocket or a freezer bag
 * Your hands!

 And that’s it! No special equipment needed at all.

METHOD

Knead your sugarpaste until it’s pliable and roll into a sausage shape – the fatter the sausage, the bigger your rose will be.


Cut off the end piece and discard, then cut six slices of roughly the same size. Cover the rest of your paste with cling film or pop in a freezer bag to stop it drying out.


Work with one piece at a time and keep the other slices covered. Lay the first slice on your work surface and cover with your plastic sheet. Push down hard with the palm of your hand (at the base of your thumb) to thin out the paste.
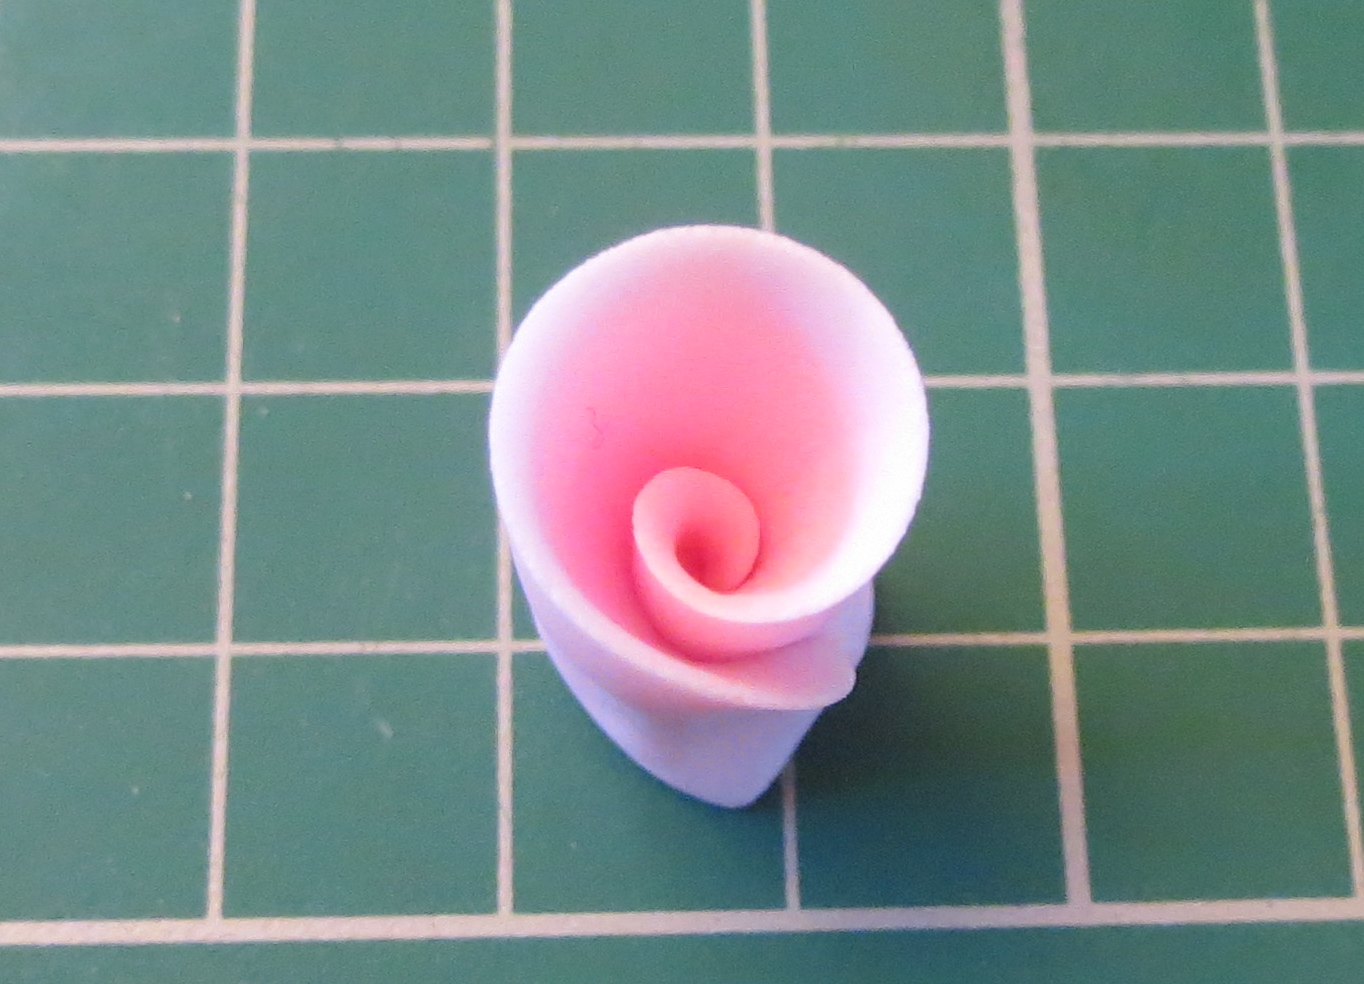
Next run your thumb firmly around the edges of the petal, half on the petal and half on the plastic. This will soften and thin the edges of the petal. To make the bud, start curling the petal inwards with your fingers, keeping it fairly tight.


Repeat the thinning process for the next petal and wrap around your bud, overlapping the seam of the bud. Use your fingers to gently curl the edges of the petals back and pinch around the base to keep in place.


Now all you have to do is keep thinning petals and wrapping around until you have the size of rose you want.

 Once you’re done you’ll notice that the base is now rather large. Don’t worry, that’s how it should be! Simply cut off the excess paste with your knife or a pair of scissors.

Leave to dry overnight or until needed (do not keep sugarpaste decorations in an airtight container or fridge as they will spoil!) and then attach to your cake or cupcake with a little Royal Icing or sugar glue.
Happy Making ❀


Saturday, 25 February 2012

How to make Sugar Carnations, step-by-step tutorial


Here I'm going to show you how to make these sugar carnations, I made them for the first time recently, they're pretty easy really and the effect when they're finished is lovely!

So... here's some of the items you will need:

Carnation cutter, calyx cutter, sugarpaste, CMC or tylo powder (optional), sugar glue, cocktail stick, florist wire, florist tape (optional), rolling pin, food colour pastes (optional), paintbrush, Icing sugar to dust your surface.

You could also use petal paste for these flowers if you wish.

Start off with kneading your sugarpaste so it's nice and pliable - I like to add a bit of CMC (Edible Cellulose Gum) as I find it easier to work with and it dries harder.

Now prepare your wire, for this tutorial I used 22 gauge white paper covered wire. Bend the top of your wire (you may need pliers for this) over to make a closed hook, dip in edible sugar glue* and insert into a small ball of sugarpaste. Pinch with your fingers so you end up with a small cone shape.
                                                     
It's easier to leave this to dry for a while so it's well stuck to the wire, but you can carry on straightaway if you wish. I leave mine to dry in a cake dummy.
Ok, now you're ready to go! Roll out your sugarpaste thinly and use your cutter to make one petal shape. While working on each stage, I cover the rest of my icing with cling film to prevent it drying out too much.

Next, take your cocktail stick and roll it back and forth over each petal section to frill the edges. 
Dab some sugar glue over the surface of the petal with a soft paintbrush and insert your wire through the centre:

Gently fold the petal in half, it should look like this:

Now dab on some more glue to one third of the shape and fold over up and across. Turn over and do the same to the other side. Gently pinch the bottom and there you have your bud!


All you need to do now is make and frill more petals and just insert the wire through until your flower is the size you want. If, like me, you only have one size of carnation cutter and want to make your flower bigger, simply cut the petals in half and drape around the edges! You can always tease the petals into the position you want them using a dry paintbrush.
To finish off, use a calyx cutter (if you don't have one of these, a flower cutter will do) to cut a shape from green sugarpaste and insert the wire through, using edible glue to secure it in place.
If you'd like to make your finished carnations into a spray arrangement, twist your wires together and wrap with florist tape. To colour, use lustre or petal powders. 

VARIATION

To make variegated flowers, add dots of pink sugarpaste and roll together before cutting out your petals.

Cut out at random and make as before. When finished use a fine paintbrush to paint lines on the petals (I used Pink paste colour by Sugarflair mixed with a little water)


*Edible glue is easy to make yourself - simply put a blob of sugarpaste in a small glass/dish, add a splash of water and blast in the microwave at 30 second intervals until dissolved.

So there you go, sorry I waffle a bit! Happy making :)


We'd love to see your work so please feel free to post on our facebook page