Pages

Showing posts with label step by step. Show all posts

Saturday, 18 August 2012

How to use Tappits

Suddenly realised that I hadn't updated the blog for ages so here's a mini tutorial on how to use Tappit letter cutters! I know a lot of people have trouble with these and it took me a while to find the best way for me. In the past, I have tried various methods using plain sugarpaste, CMC treated sugarpaste  and greasing the cutters with Trex with no success but this way really works without any faffing around!

You will need:
Tappit cutters - here I'm using the "funky" type
Icing sugar for dusting
Rolling pin and sharp knife
Flower paste


It's the flower paste that really makes the difference and is easily available to buy, or you can make your own as I do which is an awful lot cheaper! This is the recipe I follow:

Sugarpaste Flowerpaste Recipe

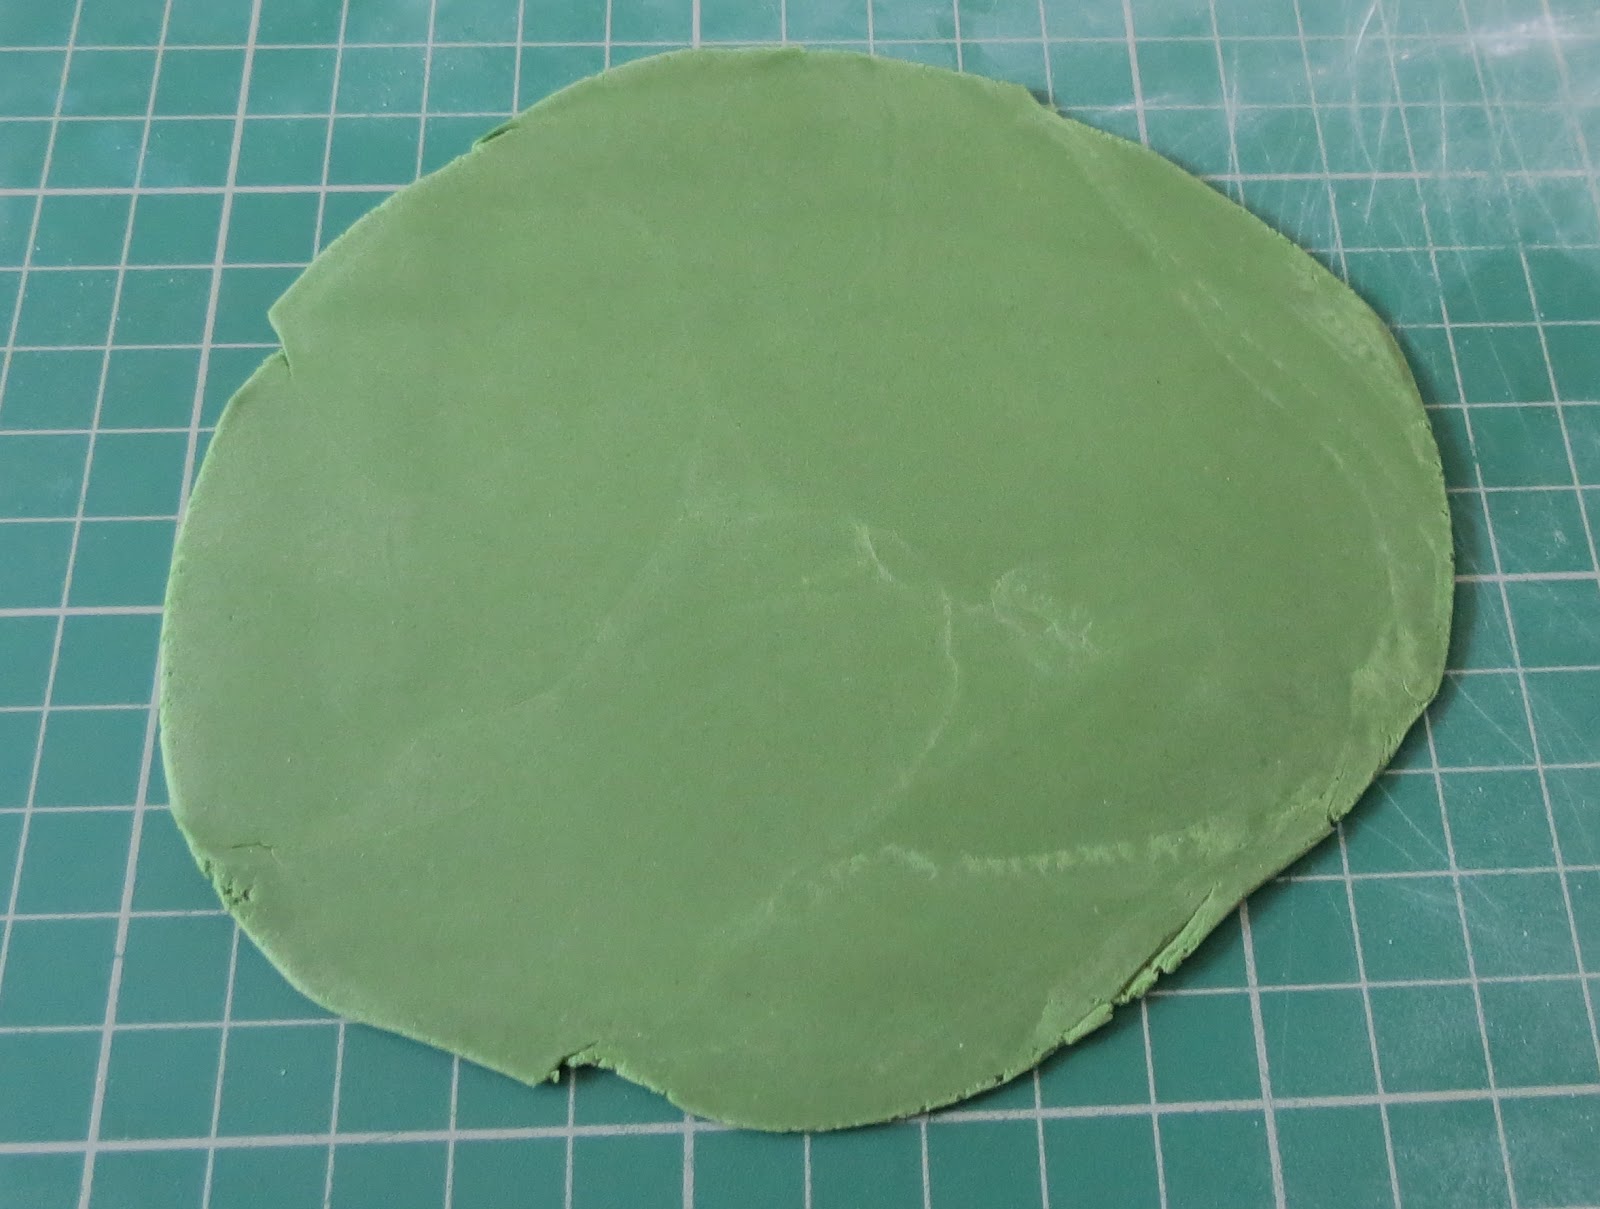
Now you have your paste, colour as you wish and knead until pliable. Roll out on a surface lightly dusted with icing sugar as thin as you can - approx 1-2mm.


Leave for about 5 minutes to let the surface of the paste dry a little. Using your knife, cut into sections big enough for your letters. Place your cutter over the paste and press down firmly. Then, still applying pressure, move the cutter in a backwards and forwards motion on your surface to ensure the paste is cut properly.
Now you will see why some people call them Whack-its!
Holding the cutter at a 45 degree angle towards your surface, give it a good whack on the edge of your surface and hey presto! Your letter will drop out of the cutter easily - sometimes you may need to whack it more than once but usually once does the trick.


To attach to your cake, use a bit of edible glue and move into place using a dry paintbrush.


Easy Peasy! Happy Baking :)


Monday, 14 May 2012

Rose Leaves Tutorial

Rose Leaves Tutorial


To make these realistic rose leaves, you will need the following items:
Flower/gum paste, rose leaf cutters, rose leaf veiners (I use Aldaval Veiners), rolling pin, florist wire and tape (I used a very fine gauge wire), cornflour, edible glue, petal dust - burgundy, confectioner's glaze, paintbrush.


Roll out your paste thinly but thick enough to insert a wire and cut out your leaf shape (my cutters leave an indent in the middle but this doesn't matter as it will disappear later!)

Cut your wire into pieces around 10cm long. Dip a wire in edible glue and insert carefully into the leaf about 3/4's of the way along the leaf.

Dust the veiners with cornflour to stop the paste sticking and lay your leaf on the veiner that looks like the back of the leaf, making sure the wire is in line with the leaf spine.

Place the other veiner on top and apply pressure, kind of squash it gently between your fingers! Carefully open the veiners and pop out the leaf - if you find it sticks, tease it out slowly with a dry paintbrush. Keep going until you have as many leaves of different sizes as you need.


Now use a paintbrush to dust the edges of your leaves with a hint of burgundy petal dust. (I used the colour in the bottom left of the picture)

Using a paintbrush, give each leaf a sheen using confectioner's glaze - I use a liquid but sprays are also available.

Now all you have to do is use florist tape to bind together your leaves in the arrangement you choose :)


Happy Making

BakerLou -x-

For other tutorials, please take a look through this blog or see our website


Tuesday, 13 December 2011

How to make a Cupcake Bouquet, step-by-step!

As this is a question I get asked quite a bit, I decided to photo my latest cupcake bouquet every step of the way to show exactly how it's done. It's fairly easy to do and by using different colours and decorations you can create a beautiful bouquet that not only looks lovely but tastes great too! 

You will need:

A suitable container (I like to use metal buckets that are easily available from florist suppliers, they are approx 6" across - you could also use terracotta pots or anything else of a suitable size that takes your fancy), plastic disposable cups, various coloured tissue paper, sellotape and a stapler.
Optional: cellophane, ribbon, sugarpaste, elastic band, edible glitter.

You also, of course, need a batch of cupcakes plus enough buttercream to decorate them! You will only need seven but my recipe makes twelve so plenty to nibble on later ;)
This time I used good old vanilla for both cake and buttercream but you can use any flavour combination you wish.

Method:

To start off, you need 7 plastic cups, arrange them into this shape:

Now, at this point, you can either staple them together as they are or you can do as I did and wrap some tissue paper around each cup (sellotape comes in handy here just to keep in place) before stapling for an even lovelier effect, like this:
If you'd like to use cellophane, now is the time to wrap it around your pot as it's much more fiddly to do it later on - cut a big square of cellophane, turn your pot upside down and secure with an elastic band, don't worry that it looks awful, we can pretty it up later!


Next, take a sheet of a different colour tissue paper which will complement your icing colours, cut in half and lay out flat across each other:

Lay the tissue sheets over the top of your container and gently push your cup arrangement downwards pushing the tissue paper with it.

Ok, you're ready to ice your cupcakes! For these ones, I used a Wilton 2D nozzle in a piping bag and painted a stripe of red extra colouring up the seam of the bag before filling with buttercream to get a two tone effect with the icing.

Another optional bit now! To make the cakes a little bit more special, I rolled out some red sugarpaste and used a plunger cutter to make some flowers, added one to each cake and then dusted each cupcake with some edible glitter.

To assemble your bouquet, simply pop a cupcake into each cup holder! I then tied a length of red ribbon around the pot to cover that elastic band!
And there you have it, a gorgeous bouquet of cupcakes! Perfect for a present :)


Happy Baking :)